After you’ve made sure that you have all the components that you need, you can start soldering. There’s one soldering station available per participant and there should be some basic tools available on your table. If you require some other tool, just ask. We’ll be happy to get it for you.
Absolute beginners
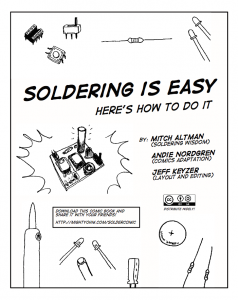
If you’ve never soldered before, feel free to ask for an additional explanation and some guidance. See also the great comic-like soldering manual by Mitch Altman et al:
Do’s and don’ts
- Use a wooden placemat to protect the surface of your work area while soldering.
- Set the temperature of the soldering iron to 350 degrees Celsius and wait a minute for the soldering iron to heat up.
-
After soldering a component, cut off its leads close to the board, just above the solder joint.
- Don’t forget to clean the tip of your soldering iron frequently, using a wetted sponge.
First exercise
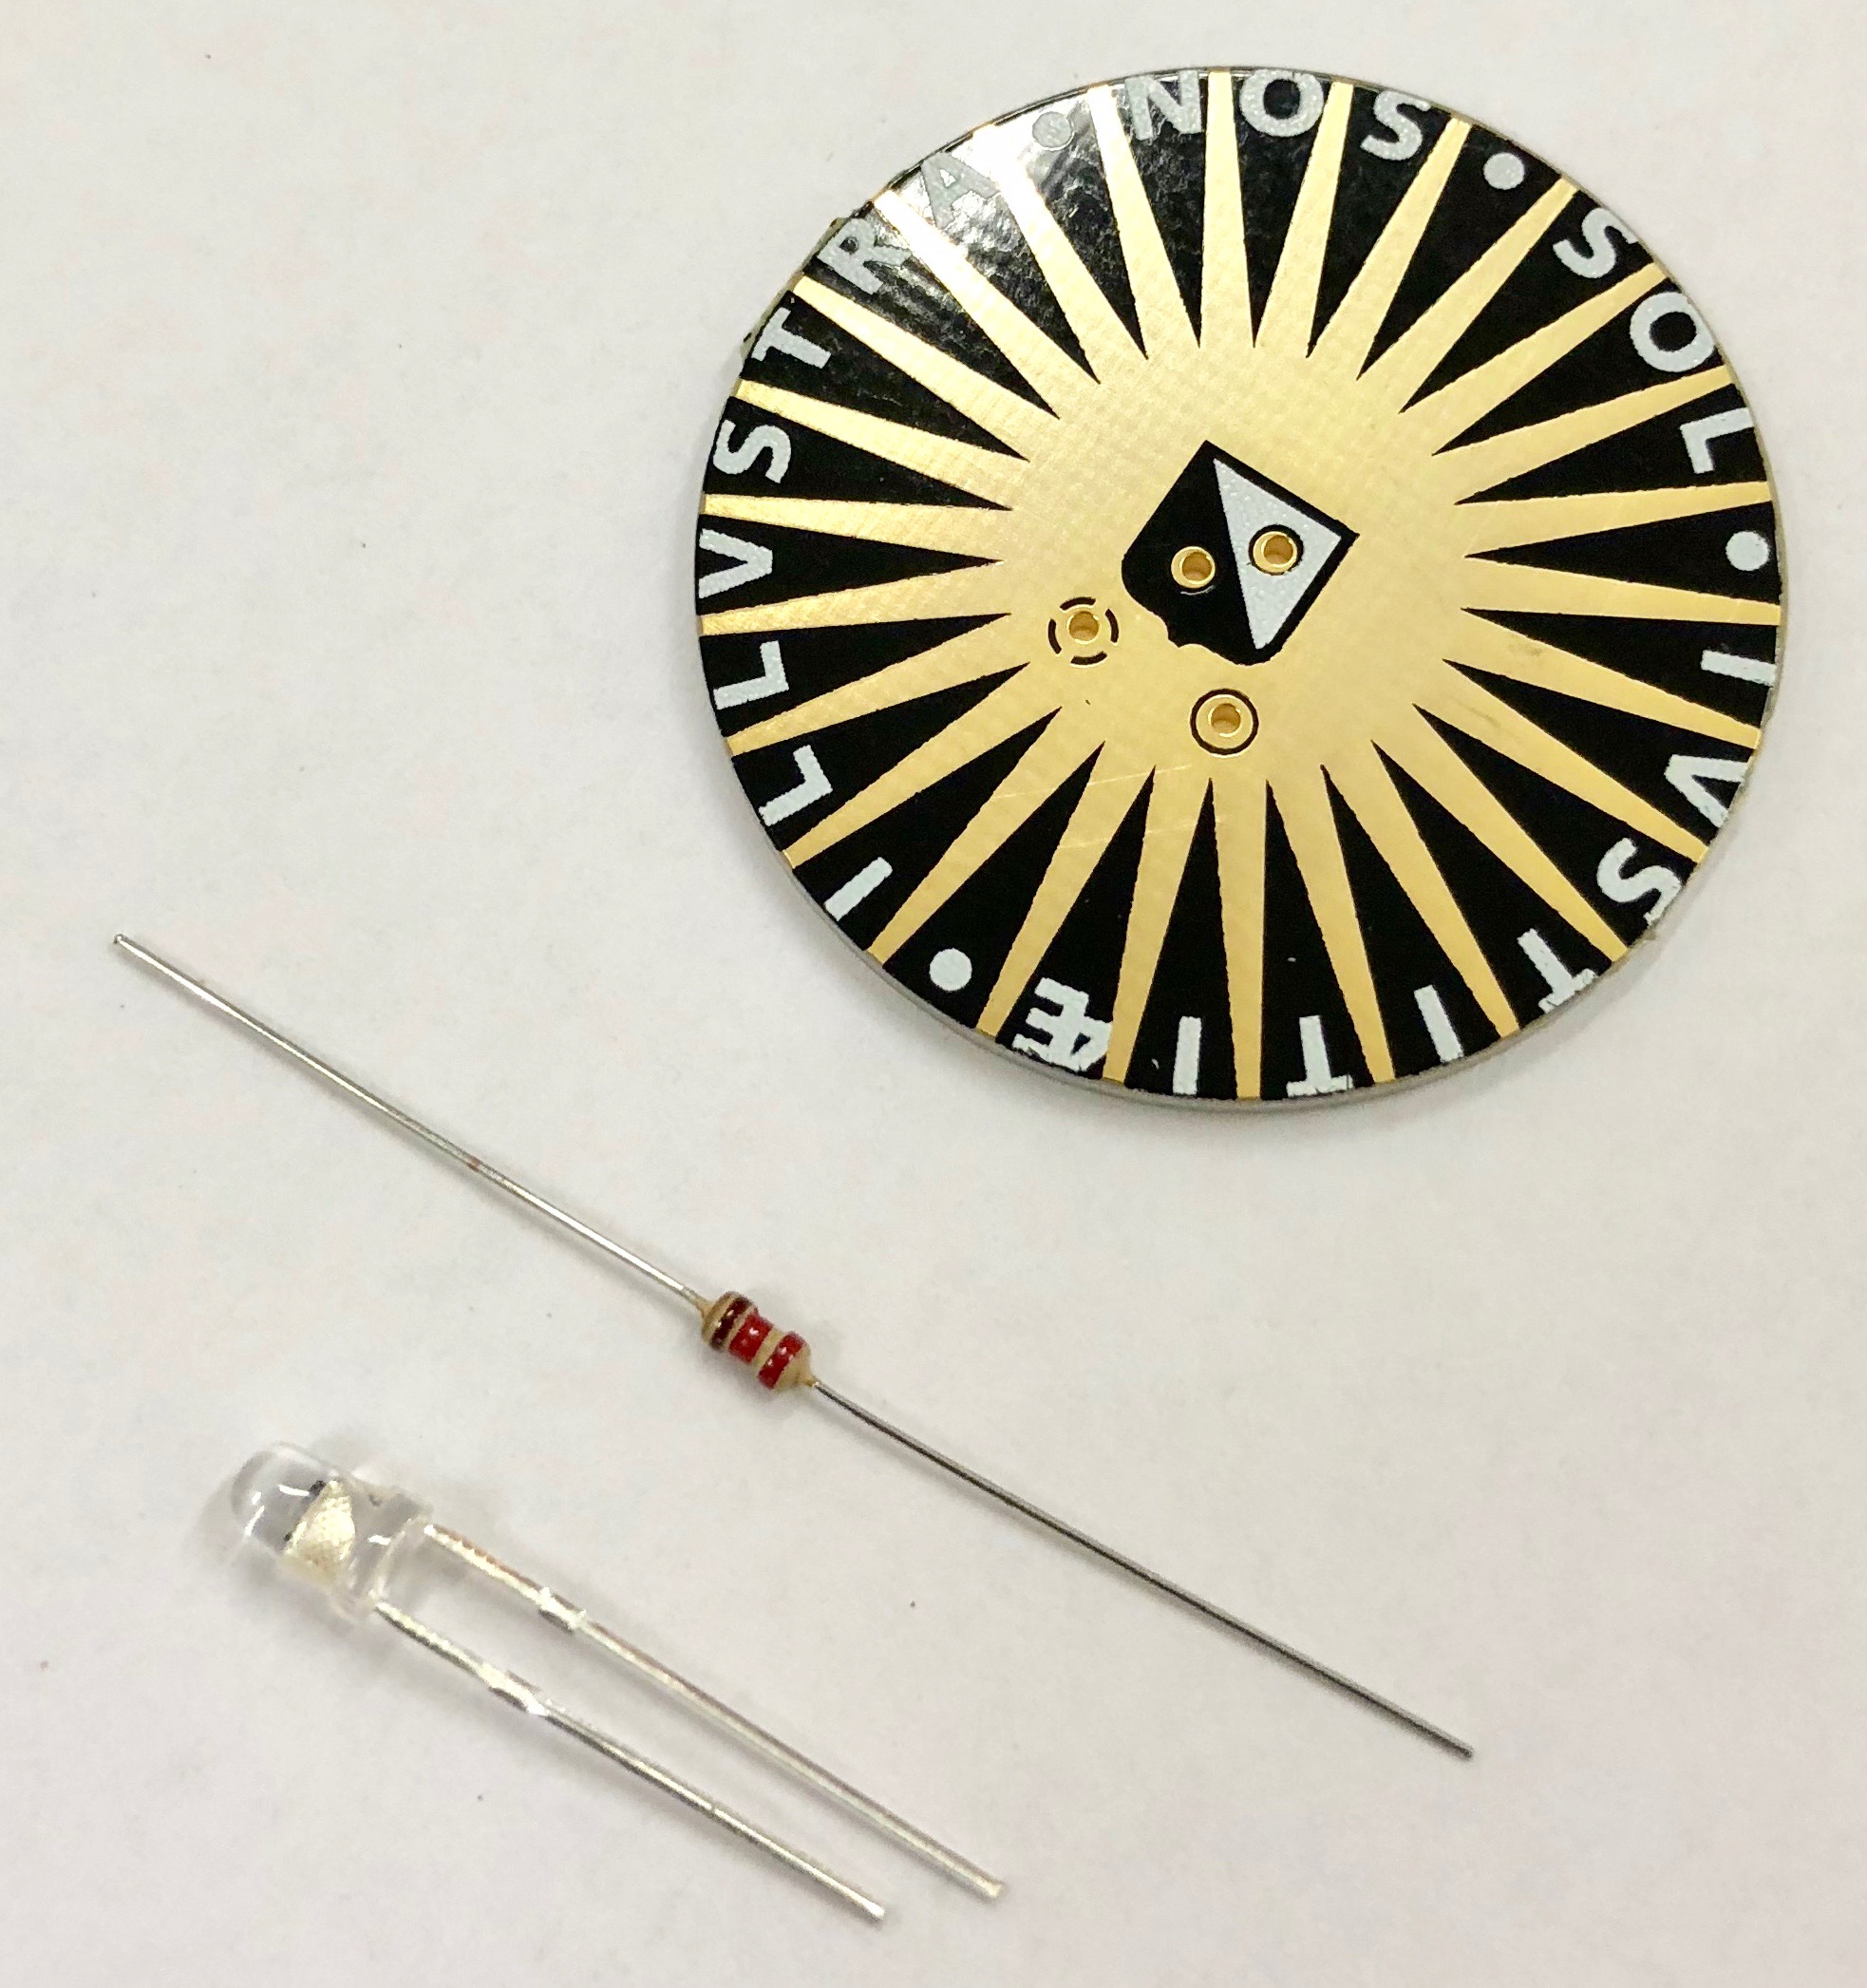 As an extra, and based on our previous workshop experiences, we’ve now included a soldering practice board in every workshop kit. The LED There Be Light board allows you to make your first soldering moves. Your mission is to solder a resistor and an led in place (in that order), for a total of four solder joints. Note: orientation of the LED does matter: the long lead is the positive (+) side of the LED. Orientation of the resistor does not matter. As some LEDs have a thicker part in their leads they might not fit the board. Just cut off the thicker part and you should be fine but if you do so, leave one lead longer so you still know which lead is the positive (+) side of the LED.
This exercise is intended to get a feel of what soldering is and what a good solder joint should look like. It doesn’t really matter if you mess up. But if you don’t mess up badly you should be left with an interesting blinky board with cool looks! You might even integrate it into your smart interactive device, if you feel like it. We have an automated test facility available for the LED There Be Light Board that performs 15 tests to check its functioning and your soldering skills. Ask for it!
Second exercise
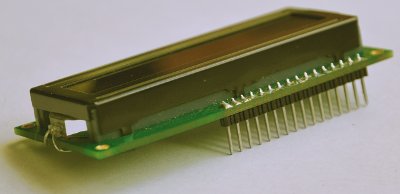 Before soldering your Stickuino, you may first solder the 16 pins header strip (contained in the Interaction technology sensor kit) to your LCD display. This must be done anyway and it’s a great additional exercise. See the image for the intended result. The easiest way to do this is by inserting the header strip into your breadboard. Insert the longest side of the header pins into the breadboard as far as they will go and place the LCD display on top of the short side that’s now sticking out of the breadboard. You then have a stable setup for soldering the header. An LCD tester is available to test your LCD display after soldering. Ask for it!
The real deal
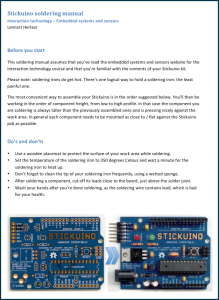
As an example, have a look at the already assembled ‘reference Stickuino’.
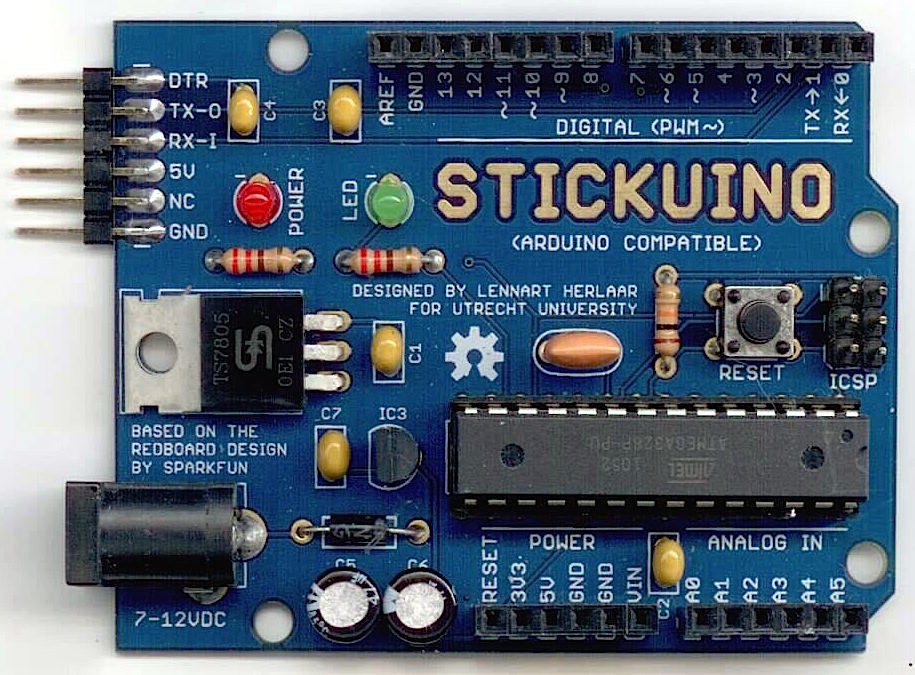
Proceed by soldering your Stickuino by following the step by step Stickuino soldering manual:
Things to avoid
Based on witnessing the soldering of a considerable amount of Stickuinos, here’s a rundown of the most ‘common’ soldering mistakes. Please don’t fall victim to these; we’d prefer more original mistakes:
- Soldering headers on the wrong side of the printed circuit board (both LCD and Stickuino).
- Soldering the microcontroller in place of the IC socket.
- Soldering the IC socket in reverse.
- Soldering ceramic capacitors in place of electrolytic capacitors.
- Soldering the diode / electrolytic capacitors / leds in reverse.
- Soldering the red led in place of the green led and vice versa (but maybe this is just a hipster thing).
- Soldering the temperature sensor in place of the 3V3 voltage regulator.
- Soldering the mosfet in place of the 5V voltage regulator.
- Soldering the 6 pins USB FTDI header straight up instead of horizontally.
Wrapping things up
When you’ve finished soldering, you may clean your Stickuino using isopropanol to remove any residual soldering flux (the brown gooey stuff). You may also postpone this step until after testing your board (and you are sure that you don’t need to resolder things) or skip it altogether, as the flux will not do any harm to your board. Ask for an explanation!
Wash your hands after you’re done soldering, as the soldering wire contains lead. Lead is bad for your brain; it kills, even when it’s not bullet shaped.
Moving on
Now’s the time to test your Stickuino.